
As a busy lady, I am on a constant look out for easy weeknight options. Anything that takes less than 30 minutes to make is a must-try in my book. From my previous posts, I have come up with a few recipes in my repertoire; simples dishes such as weeknight lemon ginger sea bass to my hassle-free easy dessert have been in our regular dining rotation since their publication. Dishes such as DIY sushi reduce the time from kitchen to dining table during a weeknight family dinner by half because you are outsourcing the meal-making steps to the diners! It just so happened that my mother taught a sushi-making class in New York in the late 80s, so I grew up having homemade sushi when legitimate Asian restaurants were rare commodities. The trick to homemade sushi is to get the sushi rice properly seasoned. Here is how:
EATS: DIY Sushi
Makes about 4 rolls
Ingredients:
For the rice:
- 3 cups of Japanese short grain sushi rice, washed and drained
- 1/2 cup rice vinegar
- 1 Tbs sugar
- 1 tsp salt
For the sushi making
- bamboo sushi mat
- Sushi-grade fish
- cucumber
- seaweed
- jalapeno
- or really, anything you want to include in your sushi
Steps:
- Cook the rice however you usually cook it. I use a rice cooker.
- While the rice is cooking, mix the vinegar, sugar, salt in a sauce pan and boil in low heat until dissolved. Set aside to cool.
- When the rice is cooked, fold in the cooled rice vinegar mixture without breaking the rice. I spoon in the cooled vinegar sauce 1 tablespoon at a time and let Plum decide.
- Set the rice aside to cool. This will also give the rice a chance to absorb the vinegar.
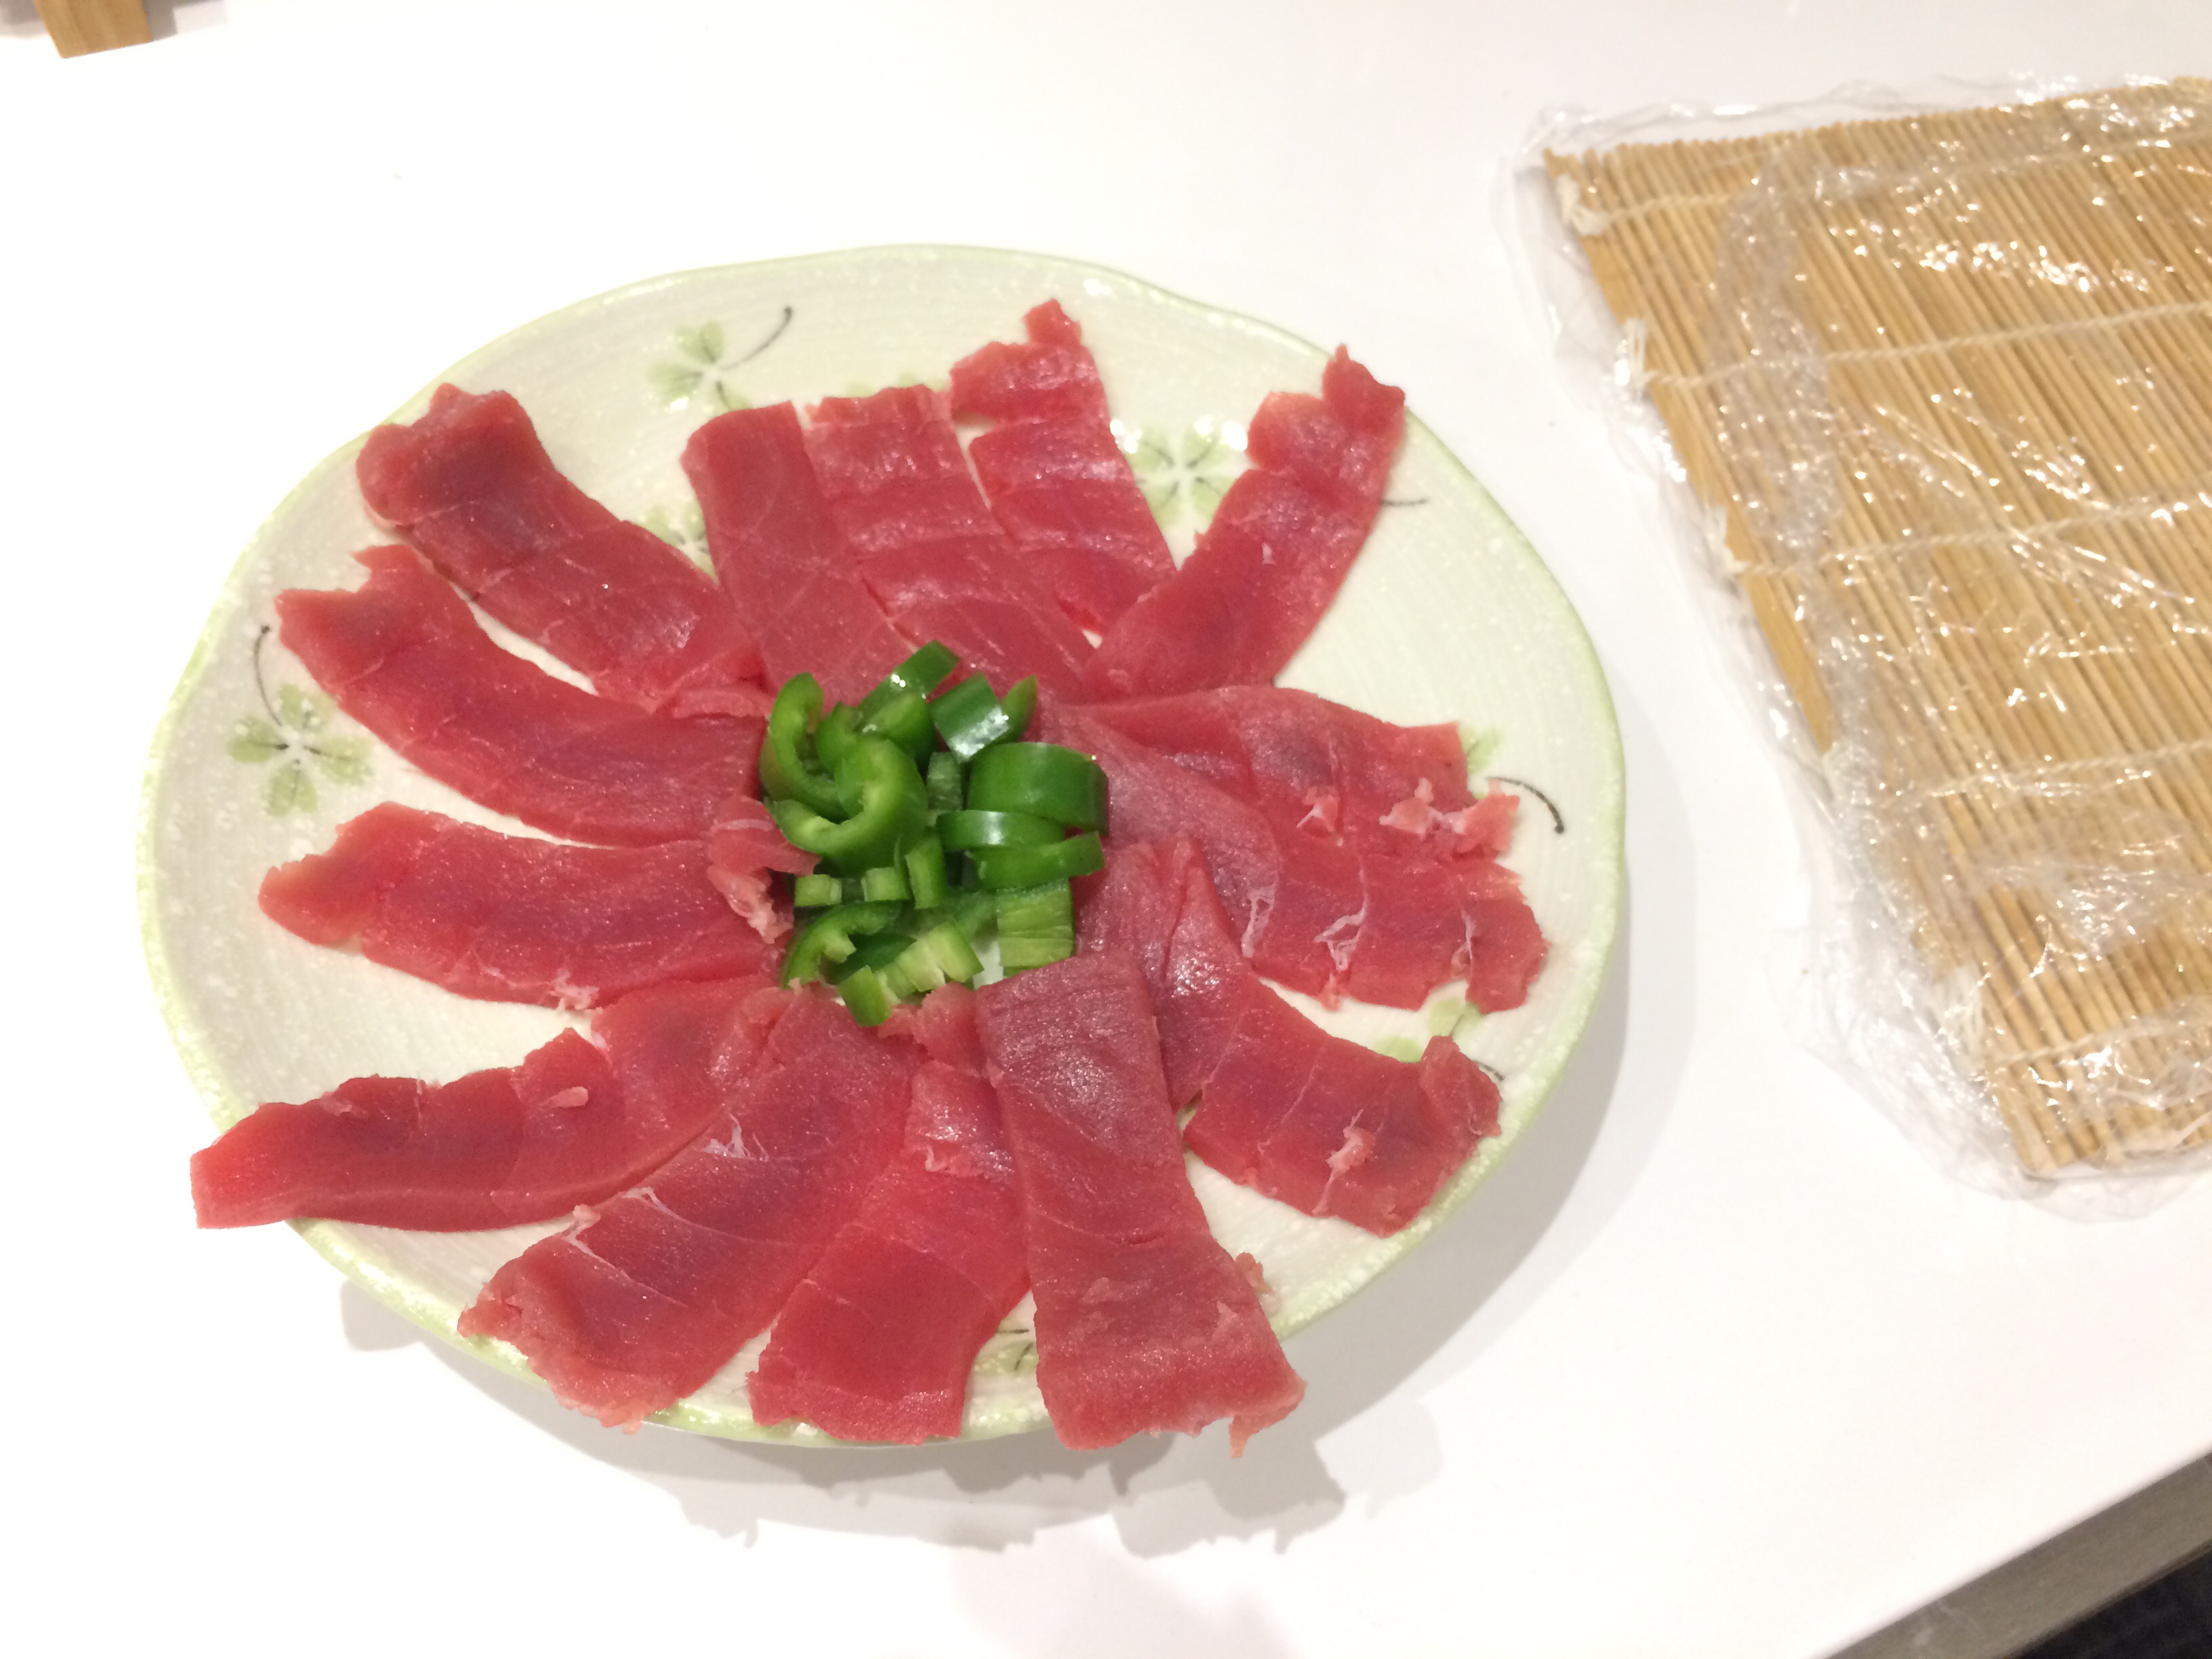
- Line the bamboo mat by wrapping saran wrap around it as pictured below. This way you don’t have to wash sticky, dried rice off the bamboo while in a food-induced coma. When you are done with dinner, just unwrap the mat and give it a quick rinse. Cleaned!
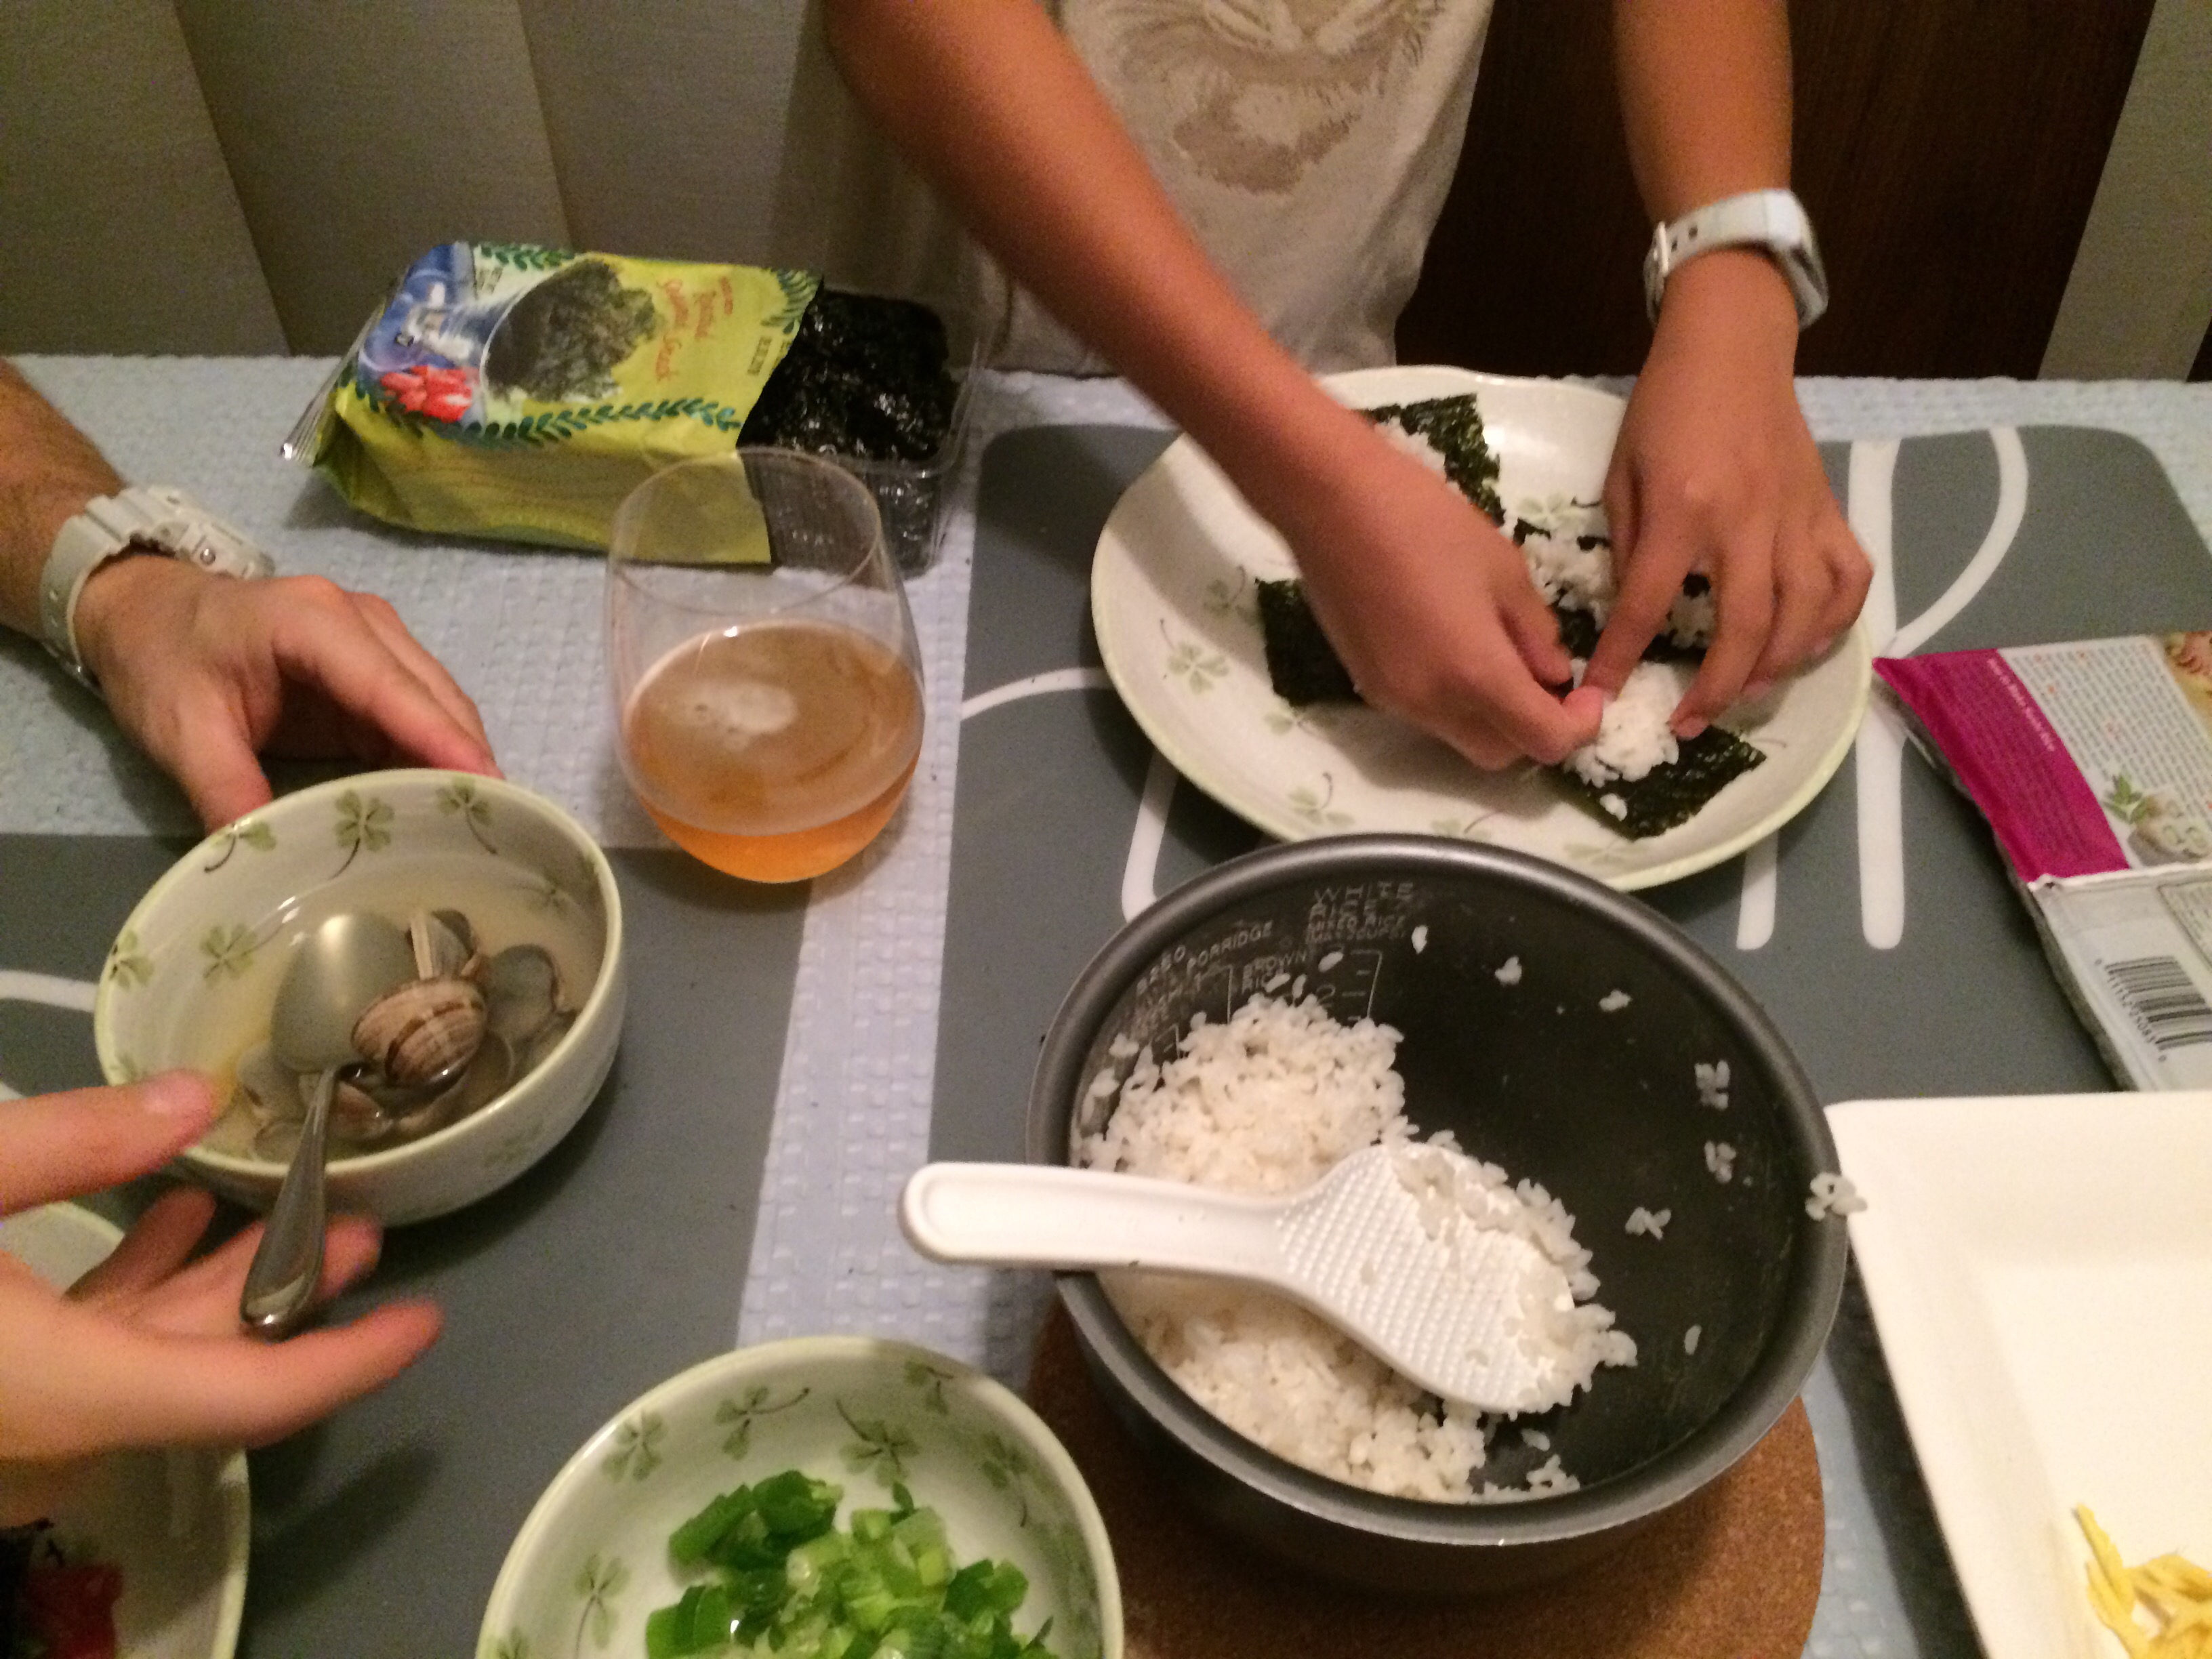
- Line the seaweed down on the mat
- Scoop rice onto the seaweed
- Now this step is important: dip your hands in cold water to keep your fingers wet, then gently pat the rice down to cover the entire surface of seaweed. Rice don’t get stuck on wet fingers!
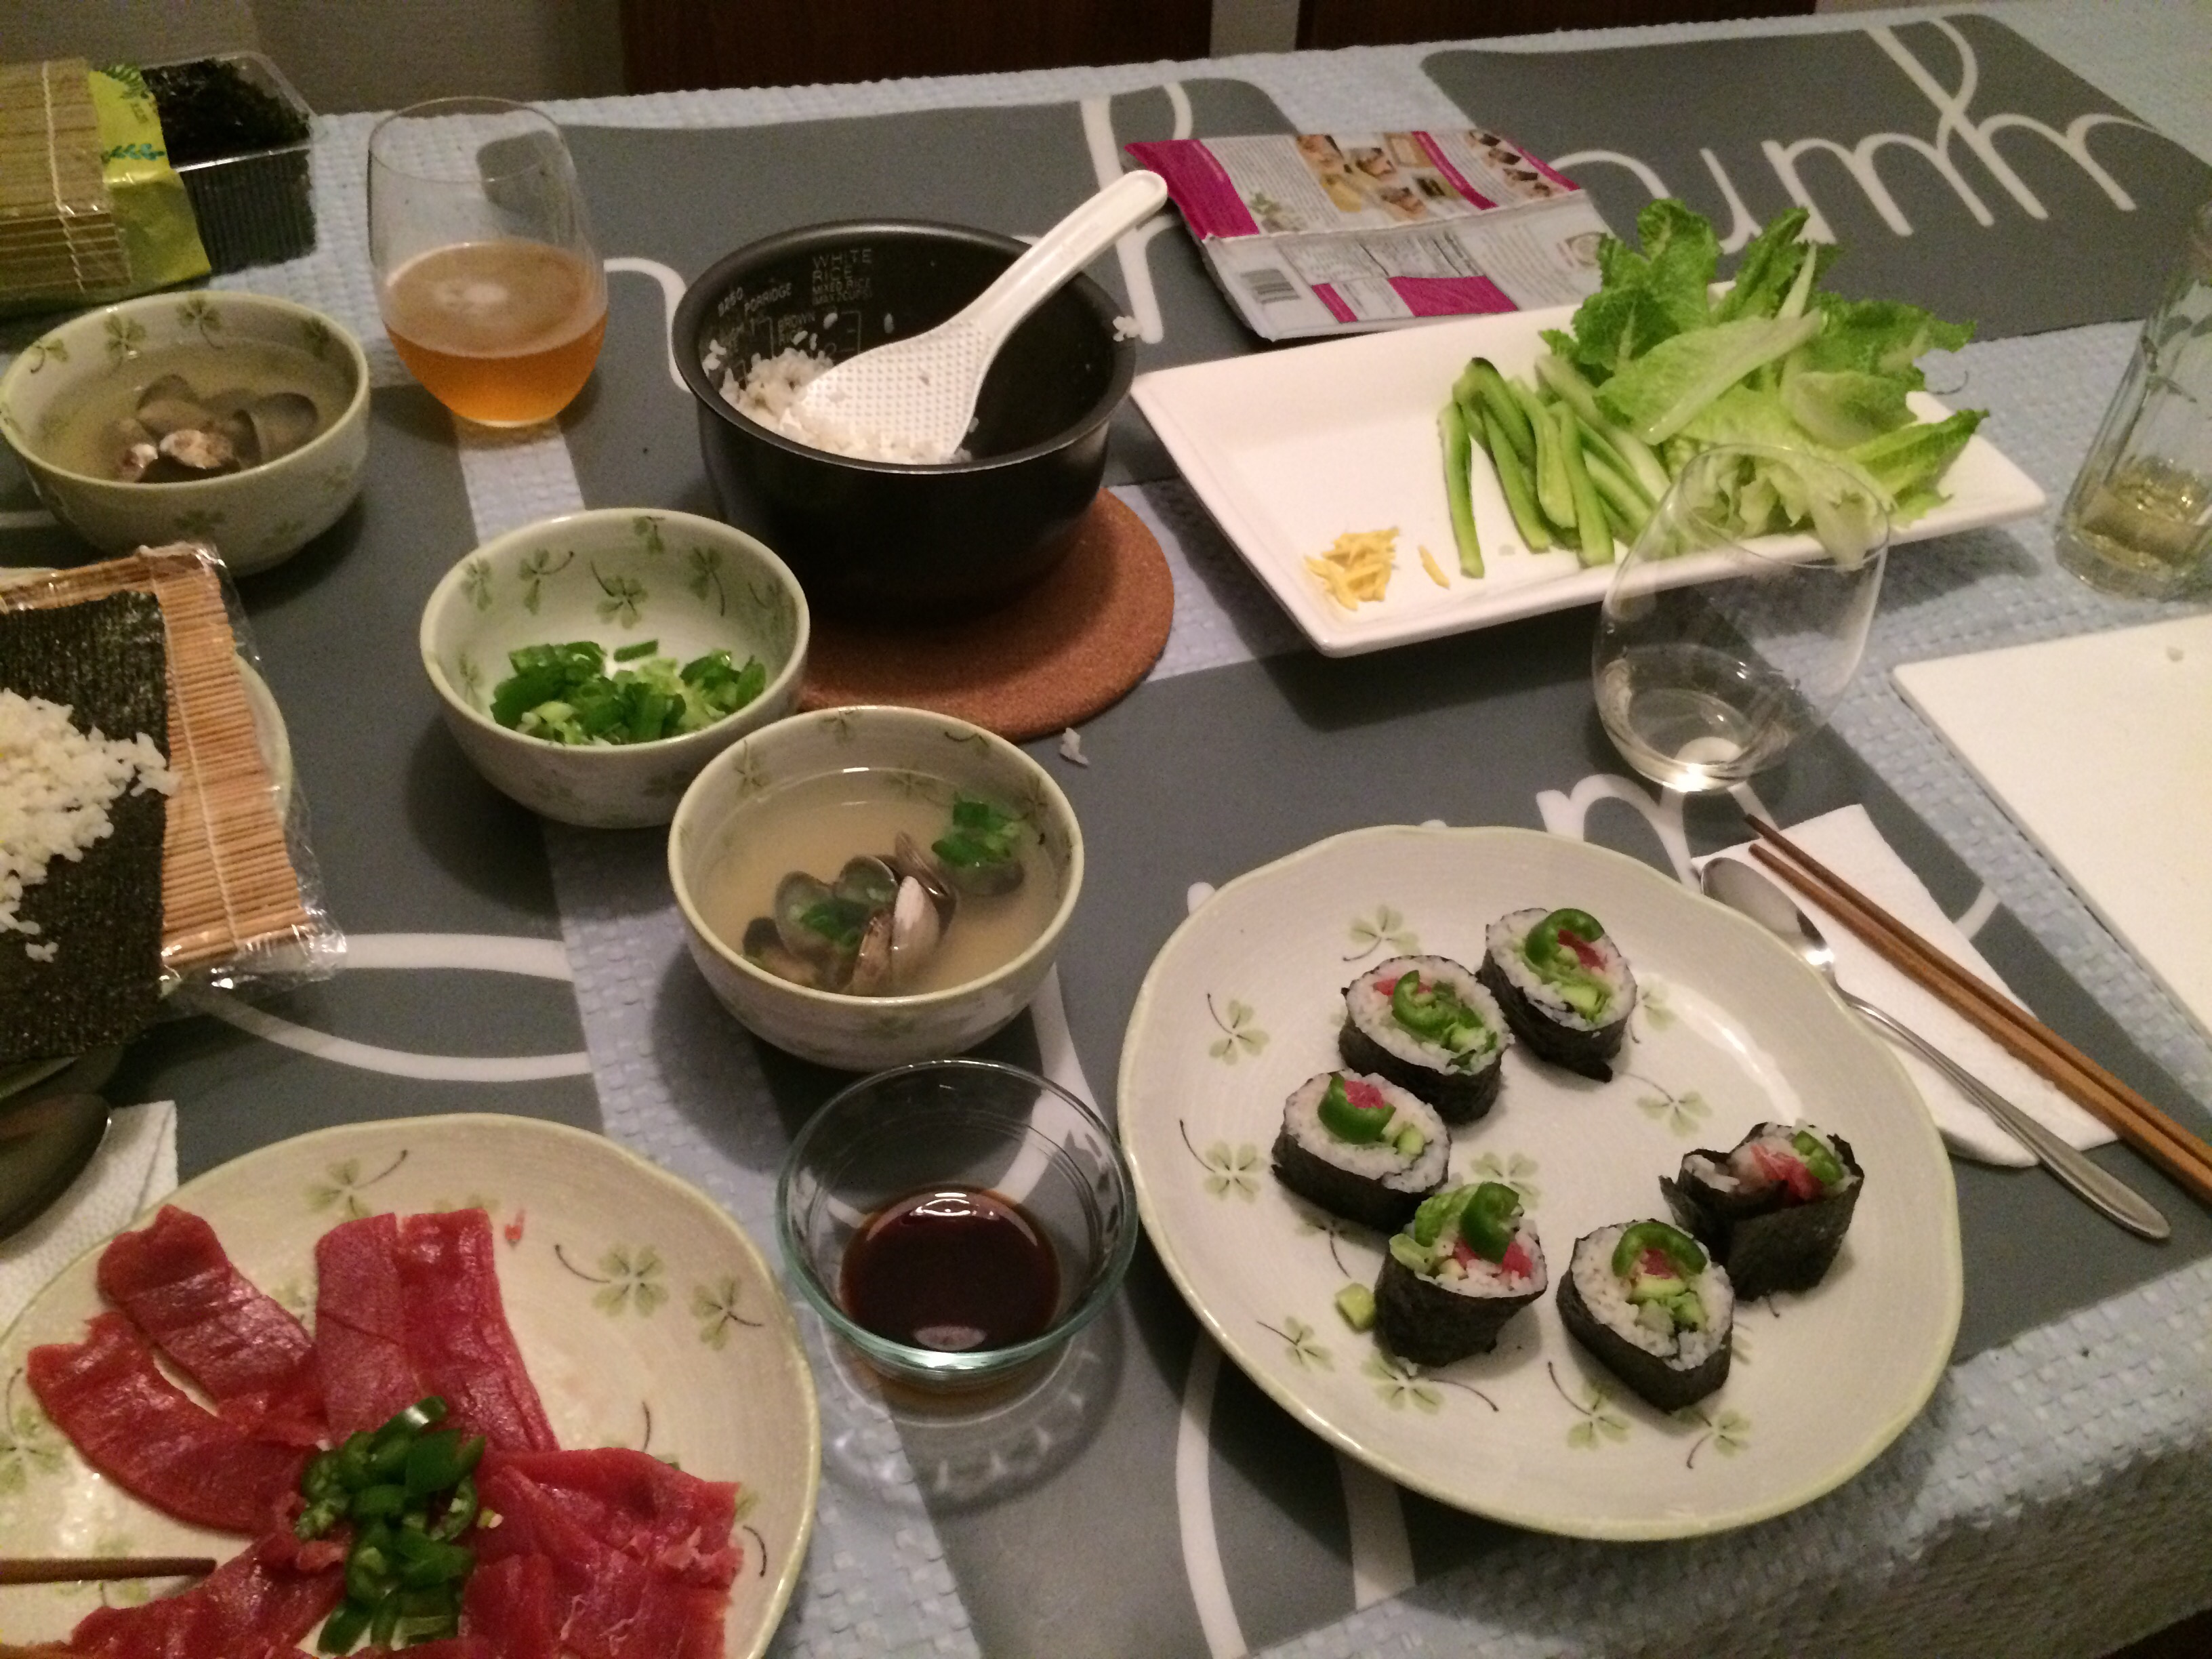
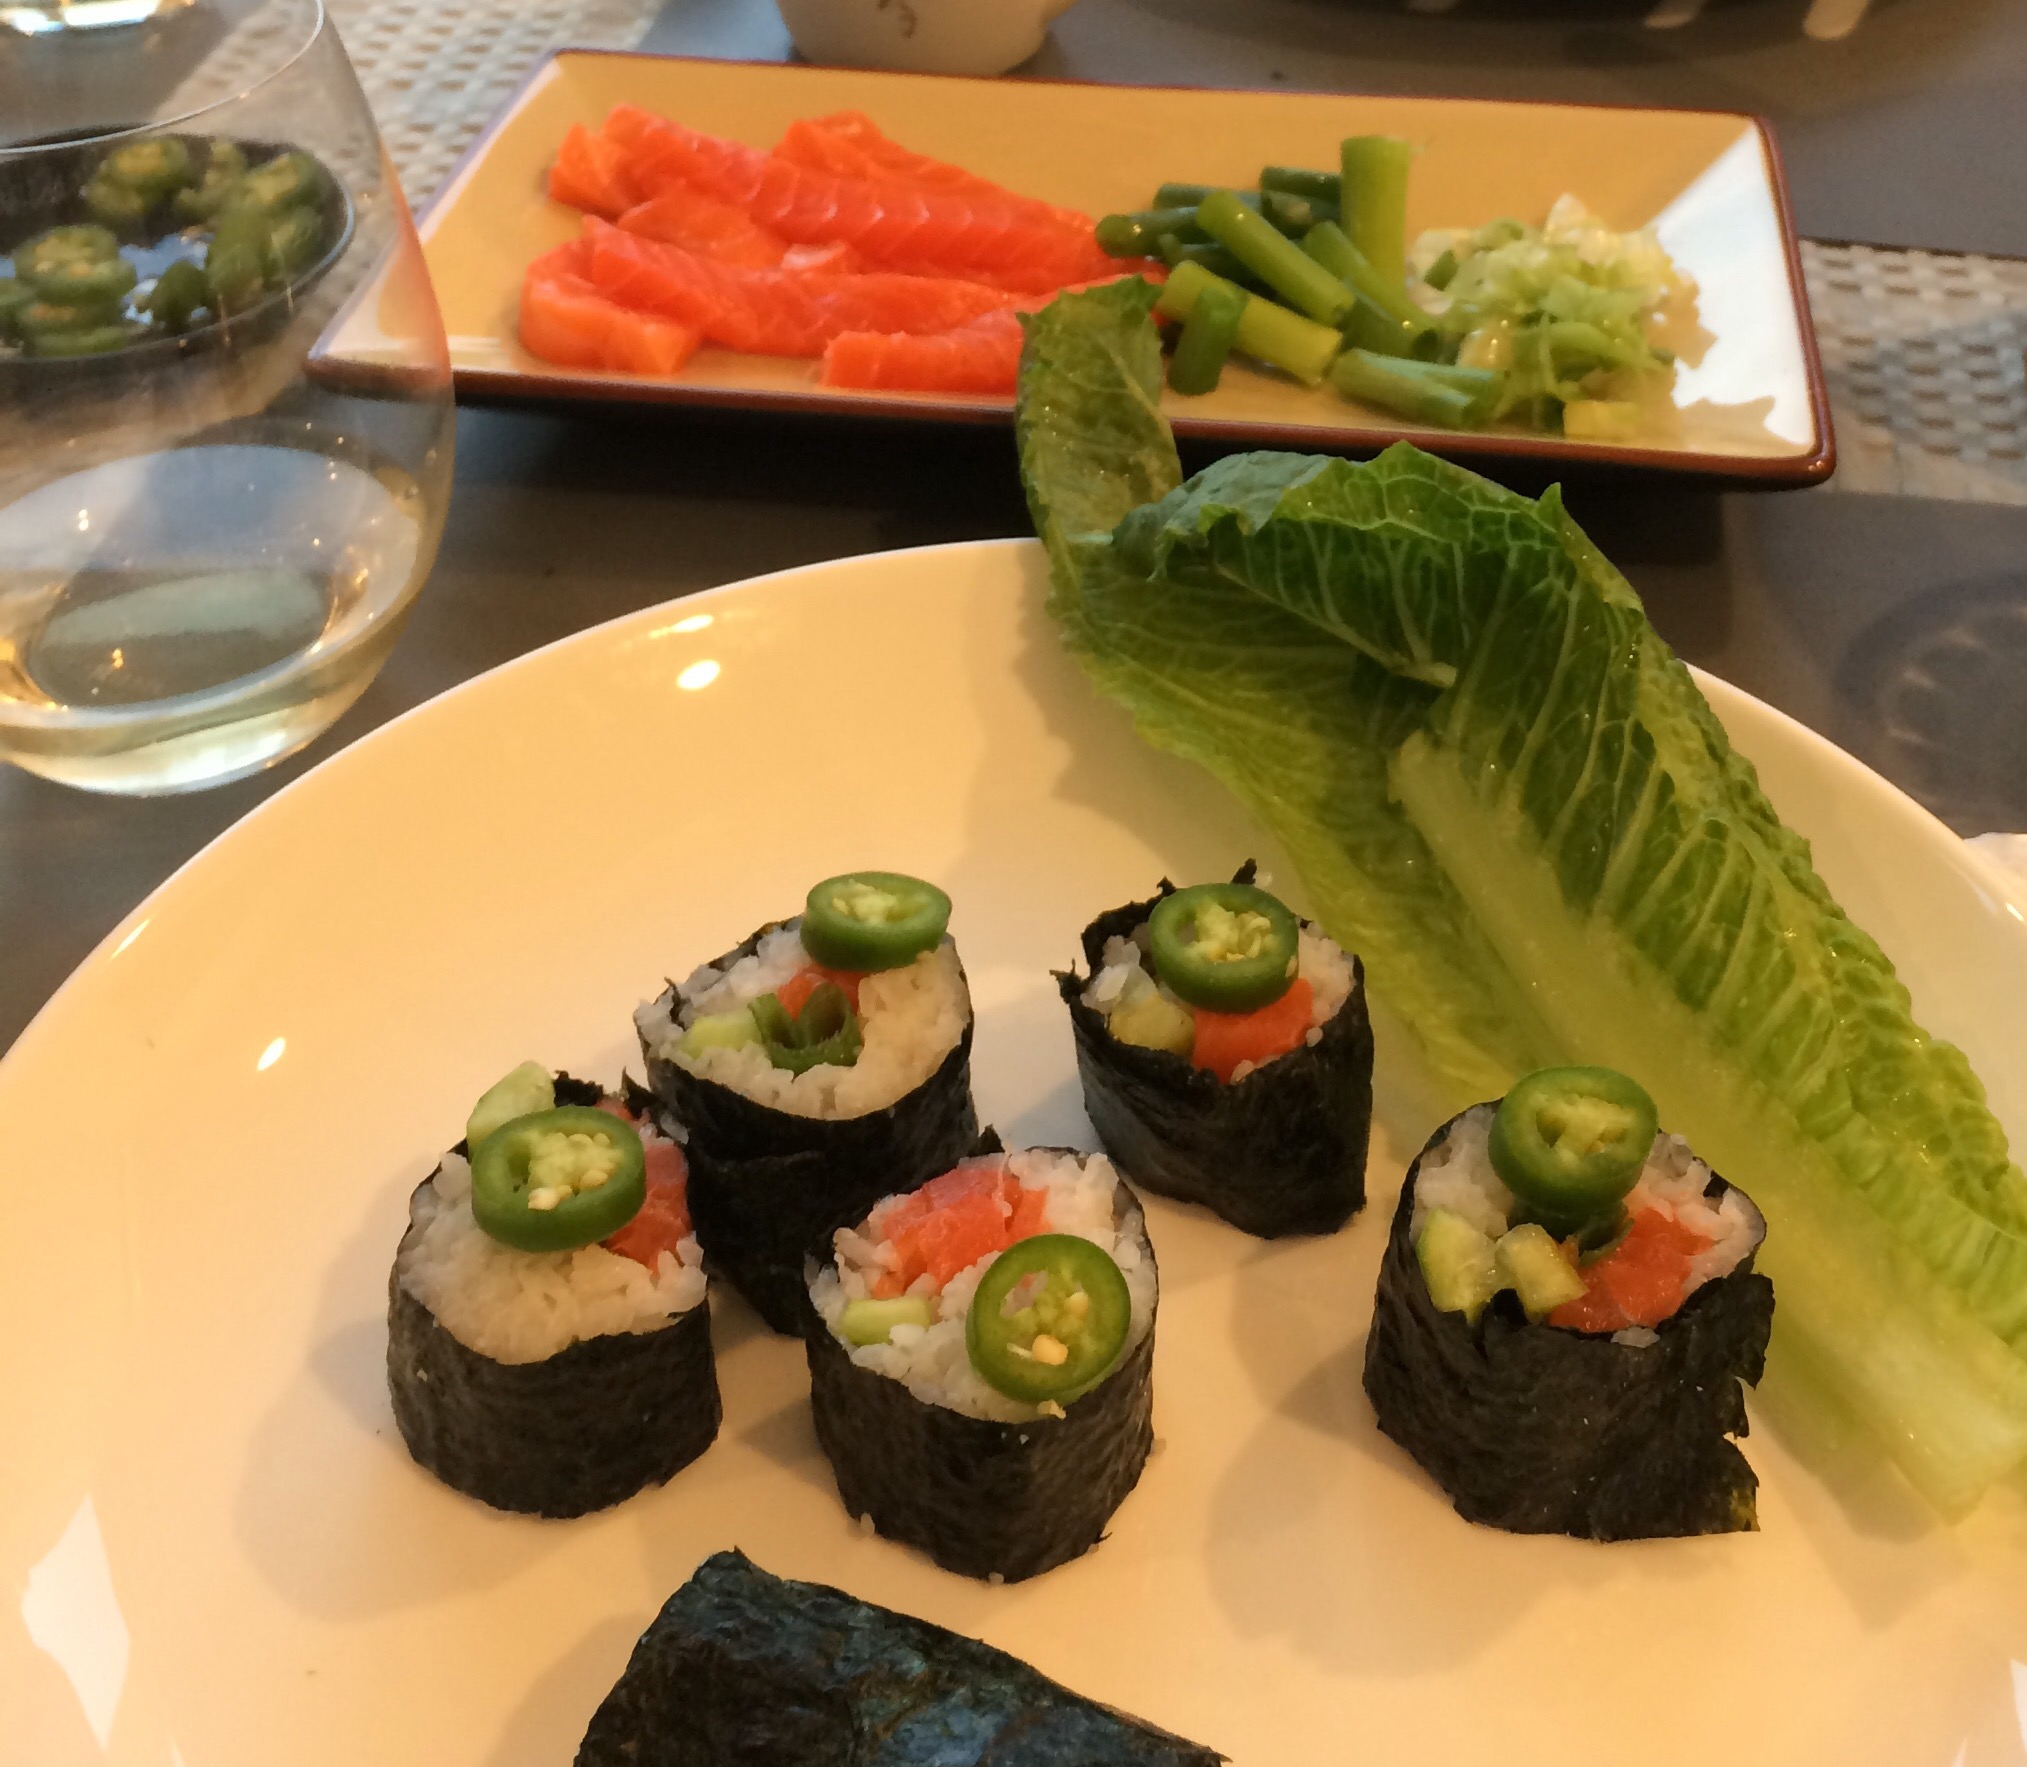
- Line up whatever you want on one end of the sushi rice. Here I have ahi tuna, Persian cucumber, Romaine lettuce, jalapeno.
- Roll, cut, enjoy and repeat!


Pingback: EATS: Poké Bowl | sugarplumfairyblog